Caeseura: Designing a Custom 30% Wireless Split
Building a compact, split, open source row-staggered board with no experience.


The Caeseura is a custom row-staggered 30% split design, built completely from scratch by me. To be honest my main goal was just to create a board that worked. I wanted to add all the cool features... Hence why there is choc v1 and v2, and MX compatibility, along with the nice!nano v2 as the MCU of choice. I also wanted to do something that I had not seen a lot in other's builds, row-staggered-ness.
Designing a board this small coming from barely using a corne, and liking a 75% keyb, came with some unique layout challenges. Here were some of the goals:
- Arrow Keys Built In: Allowing for easy use for multitudes of applications, namely rotting away on YouTube, and navigating code and video timelines.
- Split Design: Because it "supposedly good for you" and its what all the cool kids were doing.
- Multi Switch Compatibility: Full support for MX & Choc v1/v2 switches because you never know when you might want to switch it up a little.
- Wireless: I fell in love with the tri-state (wired, 2.4GHz, Bluetooth) meta of most full-ish size mechanical keybs, and wanted no cables to fluff up my life. Also it made it so I could travel with it easier!
- Open Source: Fully available for the anyone, if they were completely out of their mind, to build it themselves.
Origin
I had the idea for Caeseura ever since I built my first split keyb, corne kit from Typeractive
(write up
here).
Coming from an engineering background, and wanting to create something that was truly mine, I
set
out in search of help. I found the Ergogen (Absolem)
Discord a great place to bounce ideas off of people, and
get help when I was stuck. The Ergogen tool was fundamental in creating
this
dream of mine, even if it is not
designed for row-staggered keyboards. FlatFootFox's guide
to ergogen was a lifesaver for this project, and to community in general. I would recommend
giving
all his keyboard blogs a read, but the ergogen guide series (five-ish parts and counting) is
really
helpful. Even now, as I
am writing this about a little under a year into the custom ergo keyboard design hobby, I still
have
to search through the guides every once in a while. Mainly for yaml syntax things, because with
great power
comes great... debugging strange behaviors.
Some context to where I was at in my engineering journey. I had messed around with CAD software
for
basic 3D modeling, but had never made anything to 3D print, or for any functional purposes,
where
tolerances and measurements
were a must. So safe to say I was jumping in the deep end, somewhat without any swimming
ability.
This is why it took about 3 months for the design to finally come to a point where I was happy
with
it enough to send it off to be fabricated by JLCPCB.
The workflow that I mainly used to get this keyboard off to the printers was, ergogen -> kicad pcb. And then for the firmware it was Nick Coutso's keymap layout tools (import kicad pcb) -> Genteure's ZMK shield wizard -> Nick Coutso's keymap editor. One of the boards that was helpful for creating the row-staggered design, in ergogen's mainly columnar focused ecosystem, was FFF's 65 Crimes. I may or may not've taken the exact spacing for the left side outer column.
Etymology
An altered spelling of caesura, intentionally adding the "e" as wordplay, referencing the spelling of the city of Céüse in France, a very cool sport climbing destination and host to some of the hardest routes in the world (Bibliographie 5.15c/ 9b+). The sword Caesura from The Kingkiller Chronicles (great books btw). And it is close to the spelling of a city in the Bible so that helps. The "eur" part is a somewhat contrived splice of the way that some french words create a person doing the action out of a verb. For example a runner is "un coureur", and the verb to run is "courir". So I thought why not add that to the noun in english "caesura", which means a break in prosity. So in its essence, the Proper noun Caeseura could mean, "one who splits". Which is fitting for a split keyboard... At least I thought so when coming up with the name of the keyboard. Funny enough, no one seems to have as much enthusiasm for the made up word as I do...
After I sent off the board to get fabricated by JLCPCB, I had to sit around and contemplate how I got myself into this ergo mess. Quite quickly I found that I made a PCB design error, and I would have to bodge one of the column wires. A few mistakes are almost inevitable with your first custom keyboard design, especially if you don't have electrical engineering (EE) experience, or hate triple checking your work (both for me). The great thing about JLCPCB, other than their relatively cheap prices, is that if you choose the slow and cheap shipping option, you get to wait around for 11-15 days. Which gave me loads of time to spend approximately 1 hour designing a makeshift bottom case, and switch plate. What can I say... I chose not to be a mechanical engineer for a reason. I like tweaking the same line of codes over and over again to get a slightly different result (thanks ergogen), rather than CADing and actually fabricating stuff. Although this project has sent me on the path of EE, and dabbling every once in a long while in other fields outside of CS and data science.
30%?
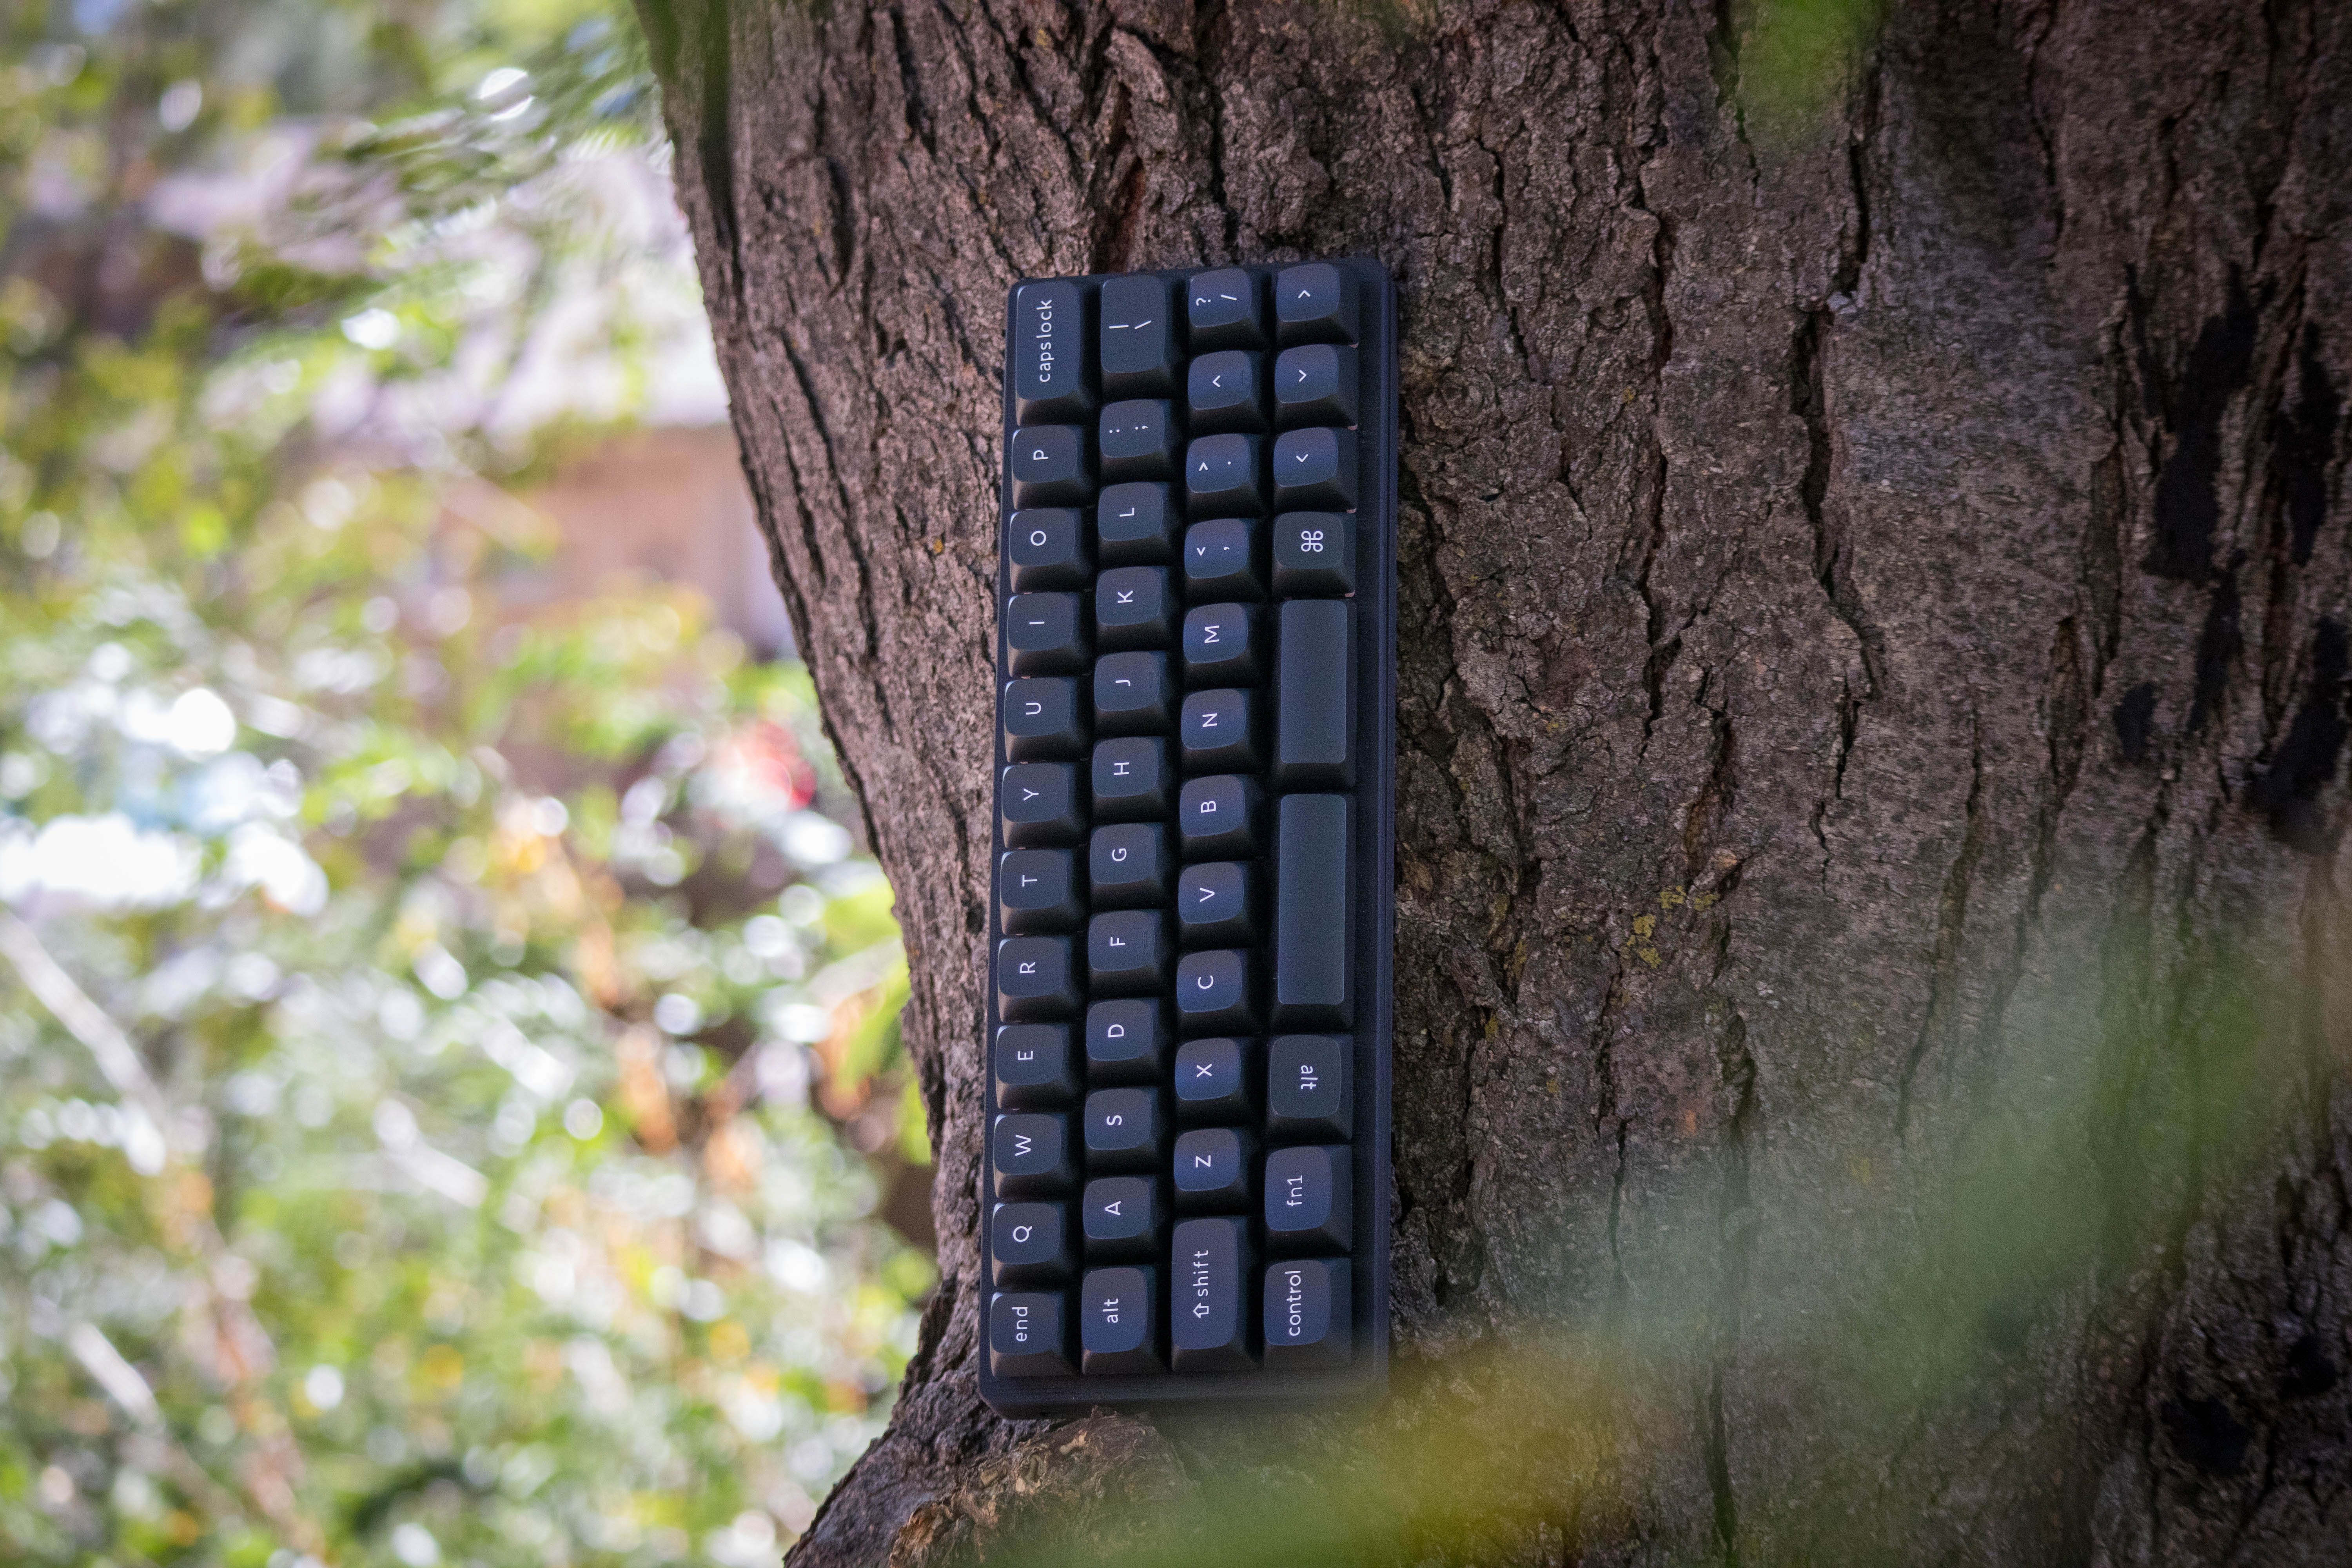
This board to me is a 30% at heart even though it has 47 keys. This is primarily due to the sparse 4th row, only having the arrow keys, the space bars, and 2 modifiers on the left side. This is compared to a normal 40% keyboard that would have a full 4th row.
Conclusion
In retrospect, there are things I would definitely do differently about this design. But I am happy that I completed designing a keyboard from scratch, without really knowing any complex engineering skills. And even beyond that I am happy that I jumped into the deep end learning-wise, and also financially because building keyboards... is not cheap. At the end of it I have a keyboard that I can look at, and admire the work it took to get there. There is a certain satisfaction to have created something that is entirely your own design that nothing else can replicate. I highly recommend anyone who is even thinking about dipping their toes into the water of custom ergo mechanical keyboards, and who has even 1 DIY bone in their body to "JUST DO IT".
Tools & Stuff
- Ergogen
- ceoloide footprint library
- ZMK Firmware
- nice!nano
- ZMK Shield Wizard
- Keymap Layout Tools
- Keymap Editor
Credits & Acclamations
- Lu: The #1 GOAT of this project. She held my hand the entire way throughout all of the steps. From the ergogen to the firmware 2 months down the line. A HUGE thanks!
- @zakwaykway: Big thanks to this man for his knowledge about switches and switch footprints, invaluable when figuring out the dual MX/Choc hotswap setup.
- Discord Communities: Shout-out to the Ergogen Discord and the ZMK Discord communities, the collective knowledge of the people in both these servers made this project possible.
- Genteure: Thanks to this man for his help with the board shield and his excellent tool, which makes setting up custom ZMK shields dramatically easier.
Repository
If you want to look at the pcbs, check out my amazing™ cases, or build one for yourself, its all on the repo, available on GitHub. This project is open source with the AGPLv3 license. PCB design files, case files, and ZMK config are free to use, modify, and build from. If you make changes and share them, a link back here would be appreciated.